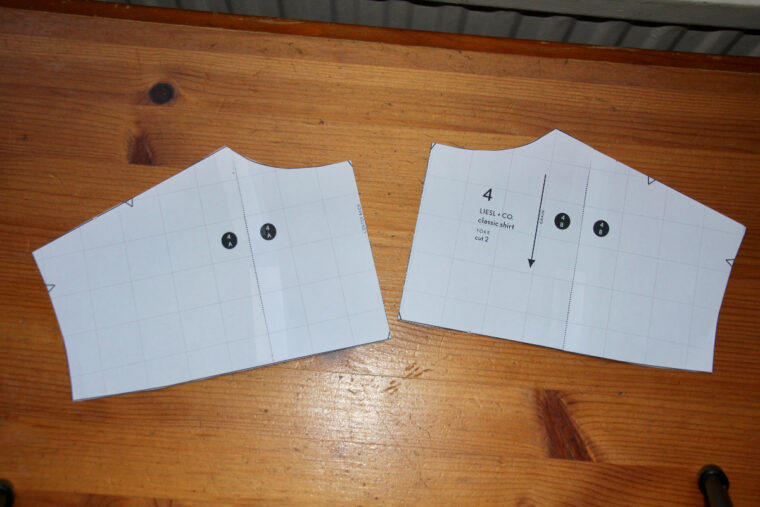
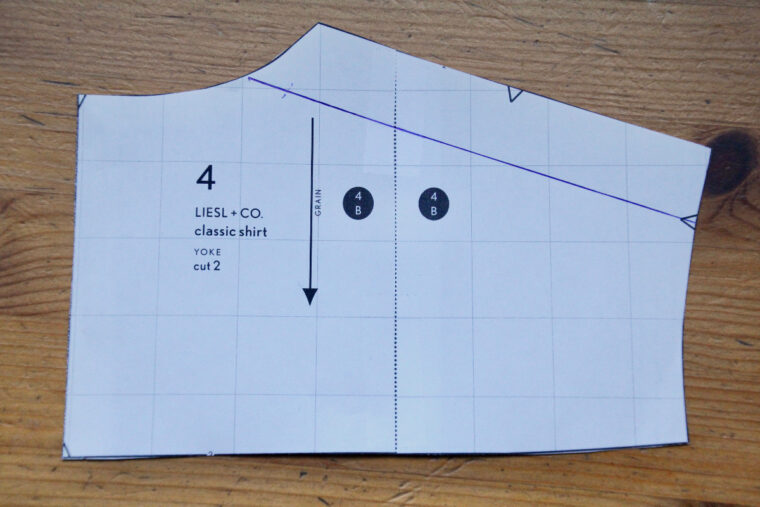
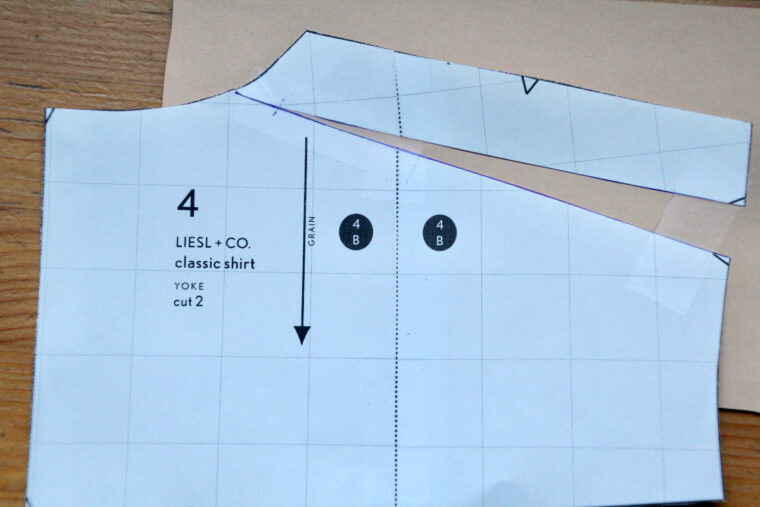
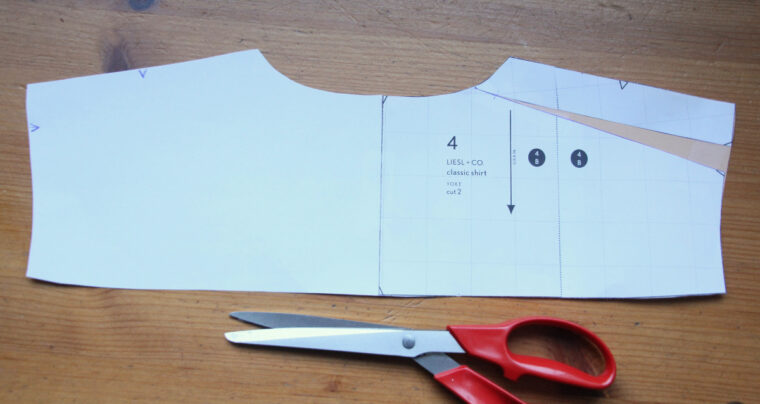
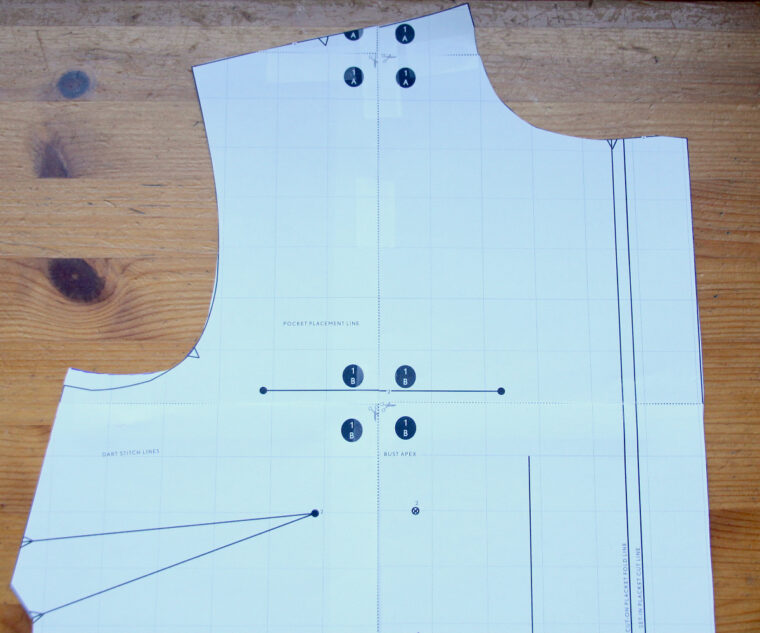
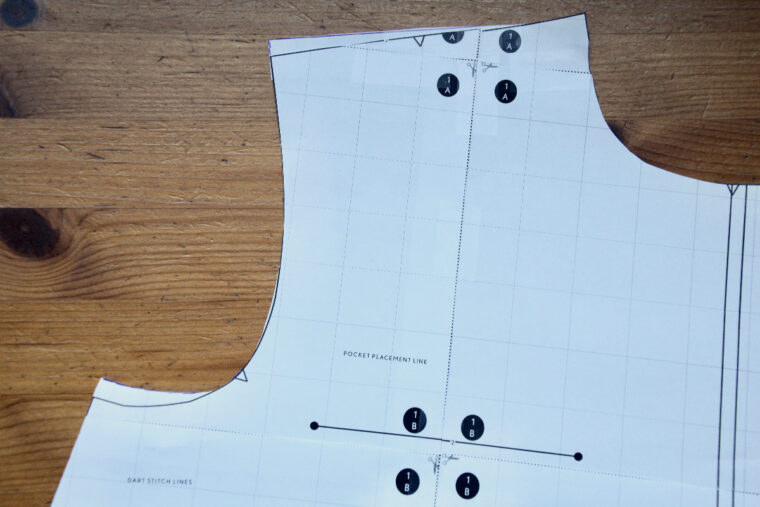
Mire is joining us today from the Advisors Circle to walk us through the process of performing a square shoulder adjustment on a shirt featuring both a yoke and a forward shoulder seam. For context, she’s also kindly provided a visual representation of what this fit issue looks like on an unadjusted shirt. Over to you, Mire! I typically notice diagonal pull lines extending from the corner of my shoulder toward the second button of my shirt. These lines are a clear indication that I need a square shoulder adjustment. You can see this issue clearly in the image below. In this case, since the shirt pattern includes a yoke with a slightly forward shoulder seam, I had to approach the adjustment somewhat differently than I would for a standard square shoulder alteration. I applied this technique to the Classic Shirt pattern. Here's a detailed guide on how to perform this adjustment on similar patterns. Begin by drawing a vertical line down the center of the yoke and cutting the yoke pattern into two halves. If your yoke pattern is designed to be cut on the fold, you can skip this step. From the shoulder notch, draw a straight line extending down to the neckline. Carefully cut along the line you’ve drawn, starting at the shoulder seam and stopping just before reaching the neckline. Be sure to leave a small hinge of paper so the pattern remains connected while allowing you to pivot it. Slide a piece of paper beneath the pattern and spread the two sections by the amount required for your adjustment—1/2 inch in my case. Secure the pattern using tape. Had this been a centered shoulder seam, I would have distributed the adjustment evenly between the front and back (1/4 inch each). However, given the forward position of my shoulder seam, all 1/2 inch was added to one side. Trace the adjusted pattern onto a fresh sheet of paper. This will result in two halves of the yoke. Cut out the traced half and attach it to the adjusted section. Your yoke pattern is now complete. Next, we’ll adjust the armscye to ensure its overall length remains unchanged. Increase the depth of the underarm on both the front and back pieces by half the amount of the total shoulder adjustment—in my case, 1/4 inch per side. In situations without a yoke, the typical approach involves raising the outer edge of the shoulder on both front and back pieces and then adjusting the bottom of the armscye by the same amount (see illustration below). That’s everything! With these steps, you’ll have successfully completed the square shoulder adjustment tailored specifically to your needs. One thing I’ve learned over time is that these adjustments aren’t just about aesthetics—they play a crucial role in comfort too. When shirts fit properly around the shoulders, they move more naturally with your body, reducing unnecessary strain. Plus, once you get the hang of making these tweaks, it opens up endless possibilities for customizing your wardrobe to better suit your unique shape and style. Feel free to share any tips or tricks you’ve picked up along the way in the comments below. Happy sewing! Cotton Embroidery Fabrics,Cotton Voile Embroidery,Cotton Hole Embroidery Fabric,Woven Cotton Voile Fabric SHAOXING XINGZHOU TEXTILE CO.,LTD , https://www.eurofashiontextile.com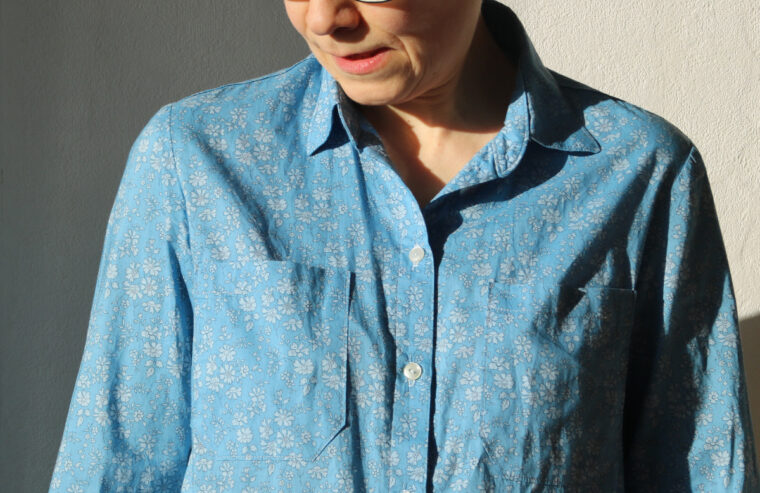
Square Shoulder Adjustment Tutorial
Step 1
Step 2
Step 3
Step 4
Step 5
Step 6
June 06, 2025